Ready to signup? Click here
After you signup, you will receive an email with a link back to the Registry. The website Admin must approve your registration before you can upload photos, etc. You will receive an email once that has been activated.
Login to the Bronco Registry – click here
Once you login, you will see your username in the upper right corner:
Hover over your username to reveal Edit My Profile, Logout, Profile, Settings, and Media.
Change your email or password
Click on the Settings link to change your contact email address and change your password.
Upload Photos
Click on the Media link to upload your Bronco photos. You’ll see an upload link. Click that to reveal the “Select your files” button. Click that to browse and locate the photo files on your computer. Or drag and drop the files from your computer into the gray section to upload.
The upload will begin automatically and display thumbnail image(s) when completed.
Set your Featured Image & Profile Pic
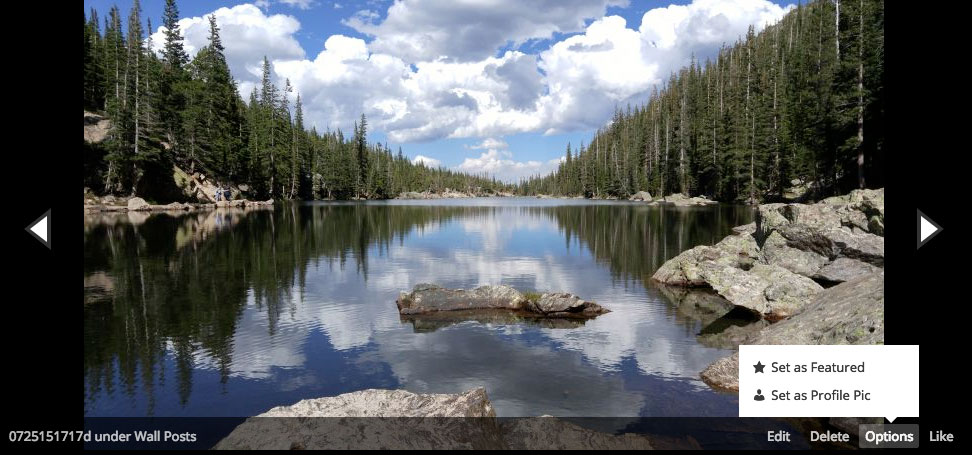
Click on one of your photos. It will open in a small popup window. Hover over the photo and click the Option link on the lower right. Click on Set as Featured and this will be the main image on your Registry page. You can select any new photo and Set as Featured to replace the current Featured image.
The process is the same to set your Profile Pic. This is the photo that shows in the Bronco Registry directory. Once you click Set as Profile Pic, the original image will load (may be very large and you’ll have to scroll around) and you can select the area you want to display by drawing a box around that portion with your cursor. Then you must click Crop Image at the bottom of the page.
Add a new title or add a description to the photos
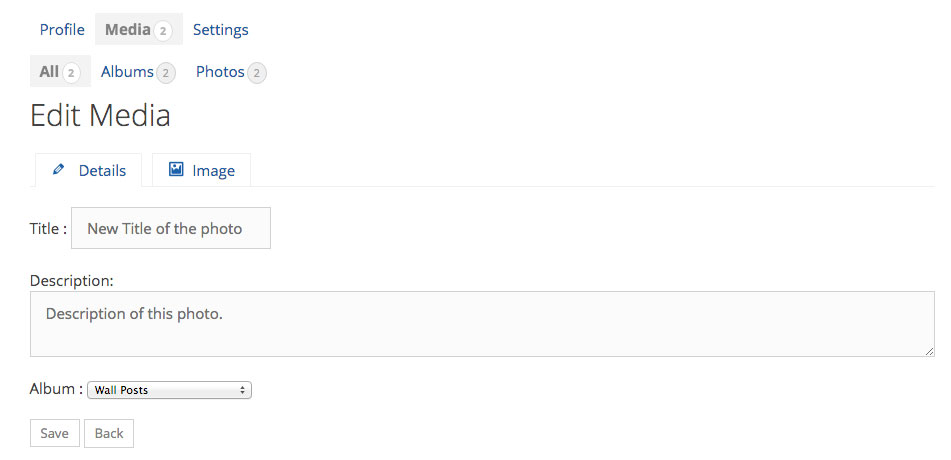
You can add a new title and add a description to each photo by clicking on Edit. Once adding your info, click save.
Organize photos into Albums
You can organize your photos into separate Albums if you list more than one Bronco on the Registry, or want to display different aspects of your Bronco individually.
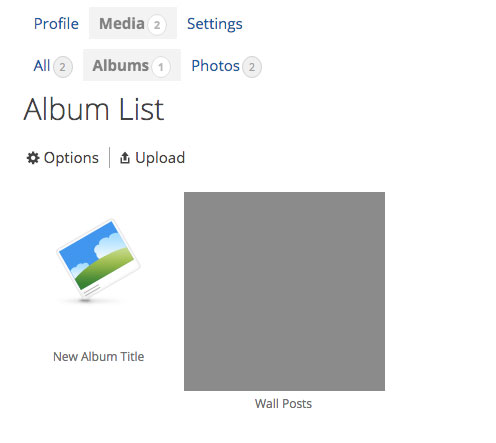
Click on Albums, then click Options – Add Album. You’ll name the new Album and it will appear in the Album List.
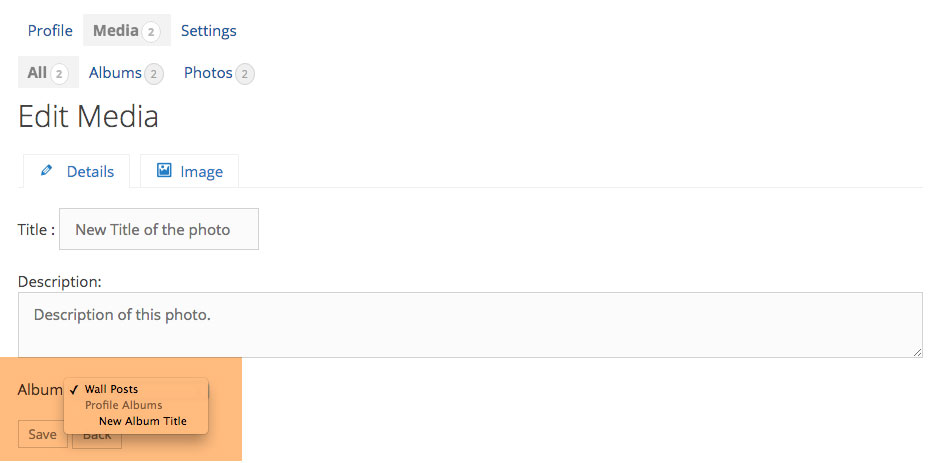
Currently this Album will be empty. To move photos into this Album, click on Media, the hover over the photo you want to move and click edit. It will open in a new window. The is the same screen you see when changing the Title or Description of a photo. Where it says Album at the bottom, click the dropdown and select the New Album you want to move this photo into. Click Save.
You can also create an Album first, click on Albums to show your list of Albums, select that Album and load photos directly into it. This saves time having to move photos from one Album to another.


